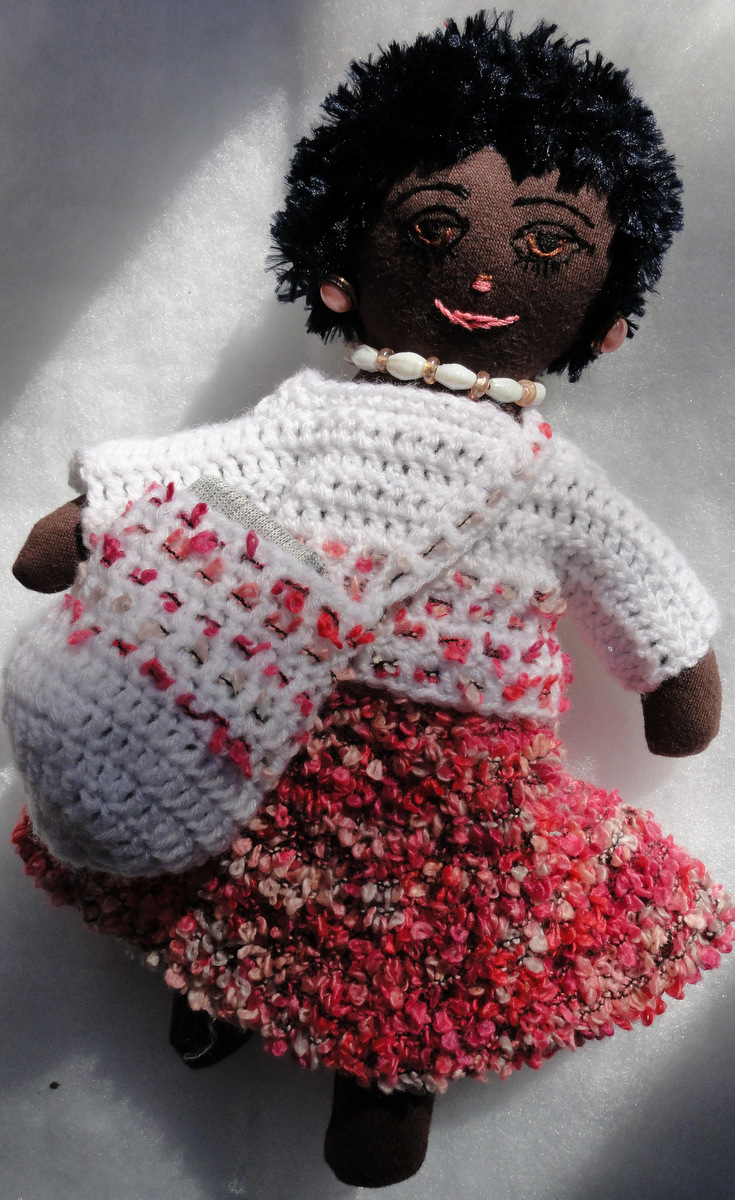
Uthando Project

GUIDELINES FOR DOLLMAKING

Here are some guidelines and ho​w-to steps to read before you begin, so that your doll really suits a child in KwaZulu Natal and stimulates their creativity in play. If that doll looks a bit like the child, or their family members, this will suit them much better than a shop-bought doll designed for other cultures. (There are more guidelines for teachers on the Resources for Teachers page.)

Note: small thumbnail pictures are used here. Please click on image to enlarge to see detail.

General Guidelines

These are general guidelines for our Uthando Classic Sewn doll or to use after you have knitted the doll’s body. In the Dolls’ Gallery you will see other original dolls pictured, but their patterns are not available on this website.

— Colours

Brown doll’s skin with black hair or creative coloured hair.

— Pattern

Strongest dolls have the arms designed as part of the main body, not added on. Our Classic Sewn Doll pattern has proved to be an ideal pattern for beginners and advanced dollmakers.

— Durability

Keep in mind the ways in which children will handle, hold and play with your doll. Imagine the tough play as well as the comforting gentle stroking and cuddling of the doll.


— Character

Dolls may represent boys, girls, mother and baby, father, teenagers, grandparents or characters from stories, legends and animals.

— Size

Because it costs more to send large dolls, maximum height to be 35 cms. Firmly stuffed, but not rock hard.

— Eyes

Eyes can be black or brown. (No blue eyes as this has associations of TB.)

— Materials

Choose soft brown material for the body. Stretch knit fabric is ideal, or plain cotton if you want to embroider the face. Avoid felt material as it “pills”. For knitted and crocheted dolls, all types of yarn can be used. Make stitches close enough so that the white stuffing doesn’t show through. Our Uthando doll making kits include a ready cut doll’s body, (with many other items) of a specially dyed 100% cotton knit fabric which suits our purpose. Anyone, or group, making multiple dolls may order and purchase @ $7 per metre plus postage.

PLEASE DO NOT

PAINT ON FACIAL FEATURES, as the paint doesn’t last.
USE BUTTONS FOR EYES, TEDDY BEAR EYES OR ‘GOOGLY’ EYES.
USE GLUE ANYWHERE.
– INSERT CORD OR RIBBON TIES, without sewing them securely centre back
– SEW HAIR ON IN ONE LUMP; better to knit a wig, make plaits or rows of hair.
FORGET TO MAKE UNDIES OR BRIEFS.
SEW CLOTHES TO THE BODY.

STEP-BY-STEP INSTRUCTIONS

— 1. Cutting out

Fold material at the feet to keep both pieces together. Lay out the pattern, pin on, draw around the pattern, then cut out for body and arms.

Using materials which fray? Note that fabric which will fray needs 1cm added all around the pattern for seam allowance. Cut longer legs separately from the body to give space for seam allowance or add more on the outside of the legs. After sewing around, clip into corners and curves before turning this type of fabric inside out so doll lies smoothly.

— 2. Sewing the body

Use small zigzag or straight stitches to sew around the outside of the body, leaving an opening between one hip and underarm wide enough to fill the doll easily. Some patterns have separate arms or legs where you need to leave the body end of the arms or legs open for filling and later joining on to trunk.

— 3. Filling the doll


Fill the feet first, (use a chopstick to push down the filling), then the legs and sew across the top of the legs (back stitch or running stitch). This will mean the legs can move backwards and forwards so the doll can walk and sit.
Fill the arms and the head. Carefully shape the head to give it a good round form (not a flat  doughnut!). Sew along top of arms at shoulder edge to make the arms flexible.

The head may flop unless reinforced. Roll a scrap of fabric along with the filling to place in the neck. Probably unnecessary for knit fabric dolls, but it helps with heavy hair. Fill the body so that it is firm, not hard but not too soft. If your pattern has separate arms or legs, after filling, sew them firmly to the body. Close up the “filling” gap.Use small zigzag or straight stitches to sew around the outside of the body, leaving an opening between one hip and underarm wide enough to fill the doll easily. Some patterns have separate arms or legs where you need to leave the body end of the arms or legs open for filling and later joining on to trunk.

— 4. Making the hair

Consider the character you are making. Make the hair interesting. Knit or sew a wig; plaited or textured yarns are good. Finger knitting, French knitting, crochet and fur fabric are all possibilities for hair. Lengths of wool can be machine stitched onto a strip of fabric which can be attached easily and firmly to the head. Make sure the hair is well stitched on and covers the seam at the top of the head, allowing for a  broad forehead which leaves ample room for facial details. 

Whichever way you choose, please ensure it is very firmly attached. It is so disappointing for the child if it comes out. Black knitted type fabrics (or tights) can be stitched on when cut into 10 – 15 cms wide strips in 3 or 4 rows. Stitch one edge of each row over back of head beginning at the top of the head. Then cut back into very narrow strips towards the sewn edges. These strips may be plaited or bunched.

— 5. Creating the face


Embroidered faces are long lasting and satisfying, if challenging to do. First, draw your outlines for eyes and mouth. Use a variety of embroidery stitches and threads thicker than machine cotton. Try combinations of stem, blanket, satin and chain stitches.
For tutorials on doing different stitch types, look online. We found a fabulous site with clear pictures of every stitch under the sun at Sarah’s Hand Embroidery Tutorials. You can find video tutorials on YouTube – just search for “satin stitch tutorial” etc.  (Let us know if you find any especially good videos.) 

Appliqué of felt eyes and mouth is very effective if sewn on well. Cut out two white, almond shapes for eyes, pin in place and stitch on with white thread. Cut out two black iris circles with the same diameter as the height of the almond and stitch them on top of the white, using black thread.
 
 
You might add black blanket stitch eyelashes and a stitch of white over part of the iris to give light and life to the face.
Cut out the mouth, maybe two separate lips perhaps, and stitch on. Stitch around all edges of mouth. Some dollmakers invent noses and/or ears.
 

— 6. Clothing

Make it colourful, rich in textures and easy to take off and put on. Use buttons, sewn-on velcro, hooks, ties, elastic.
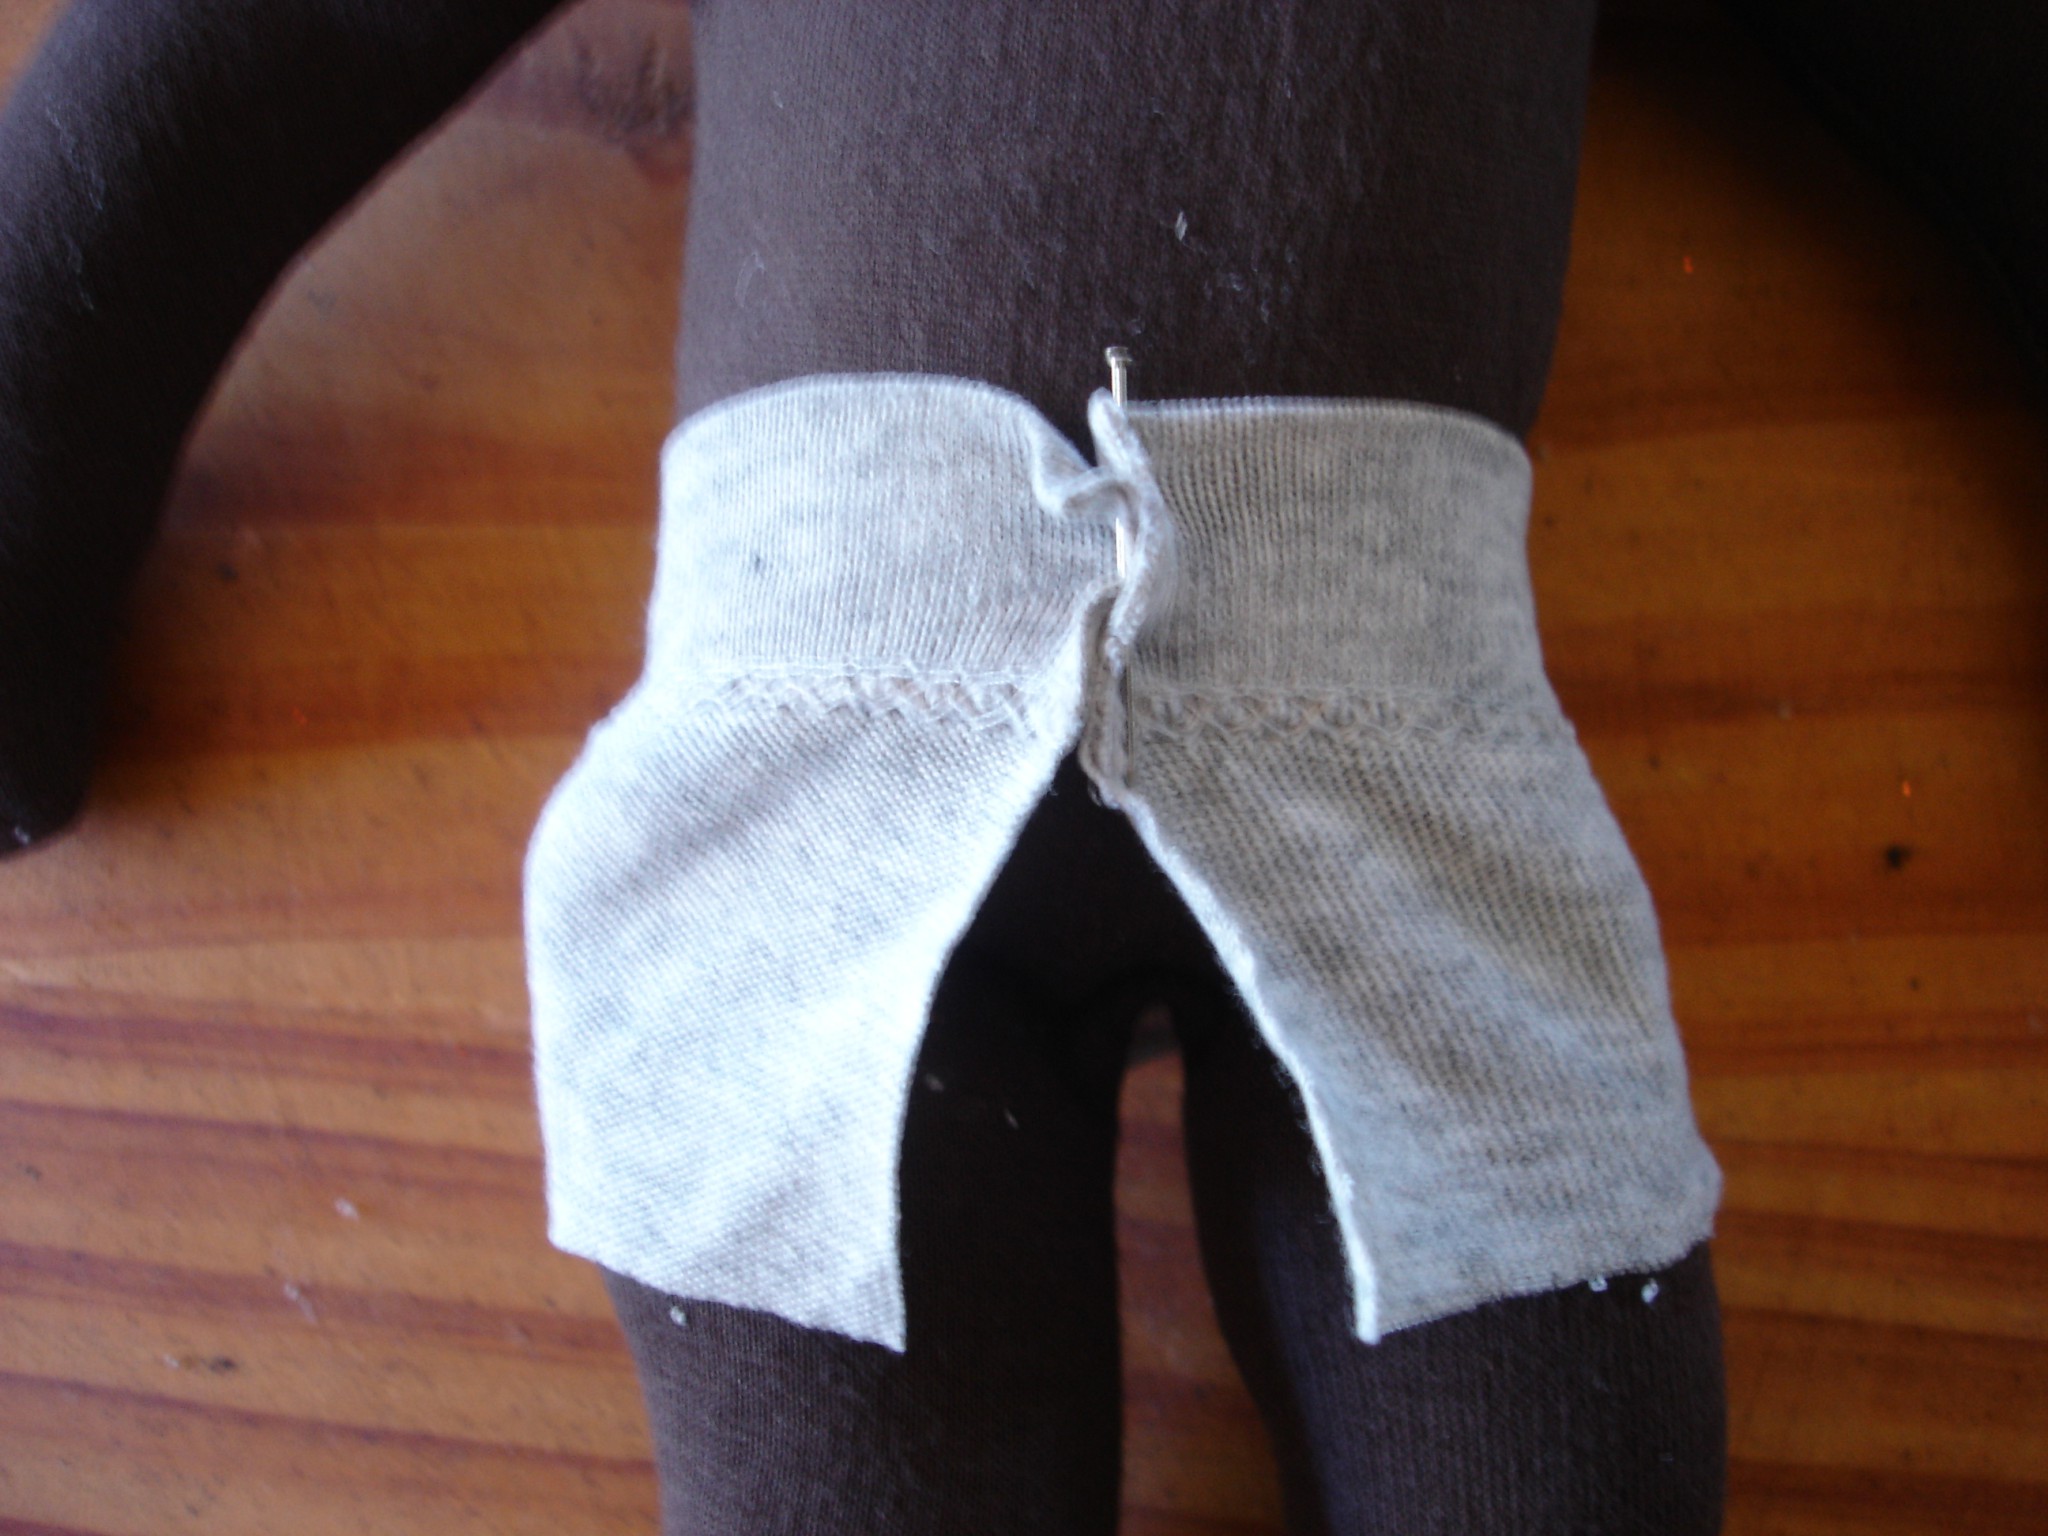
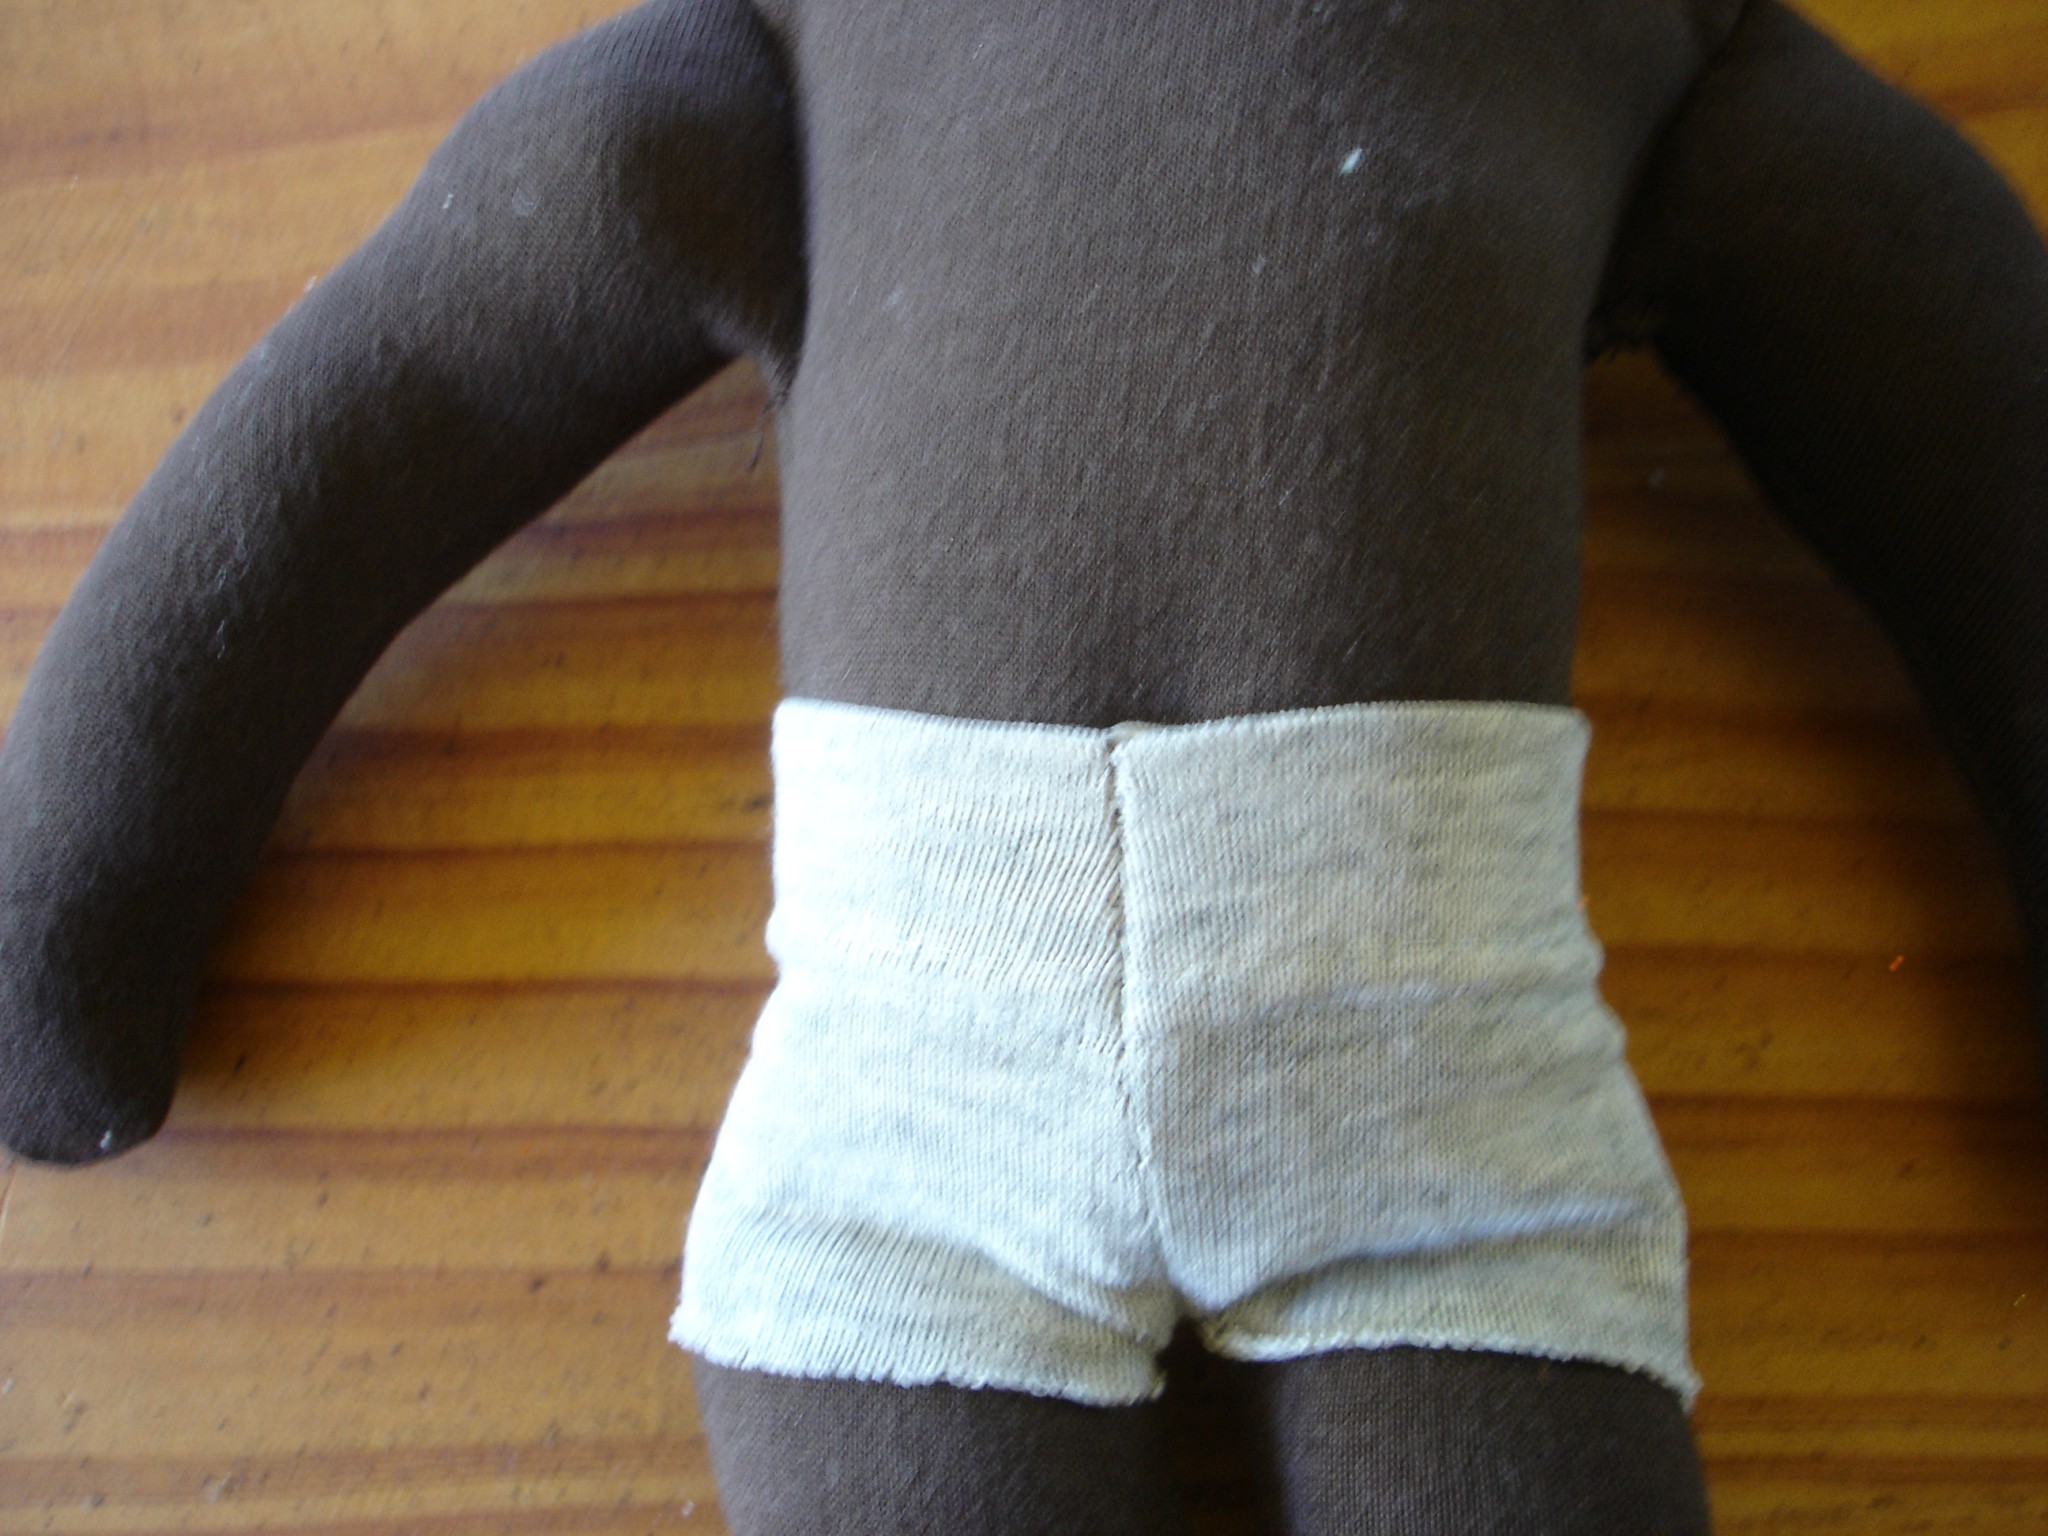
Experiment with using bright socks cut up to fit your doll. The circumference is often the same to make the clothes fit and be easy to dress. See our book, “100 Dolls, Countless Hearts”.

DO NOT SEW CLOTHES TO BODY.

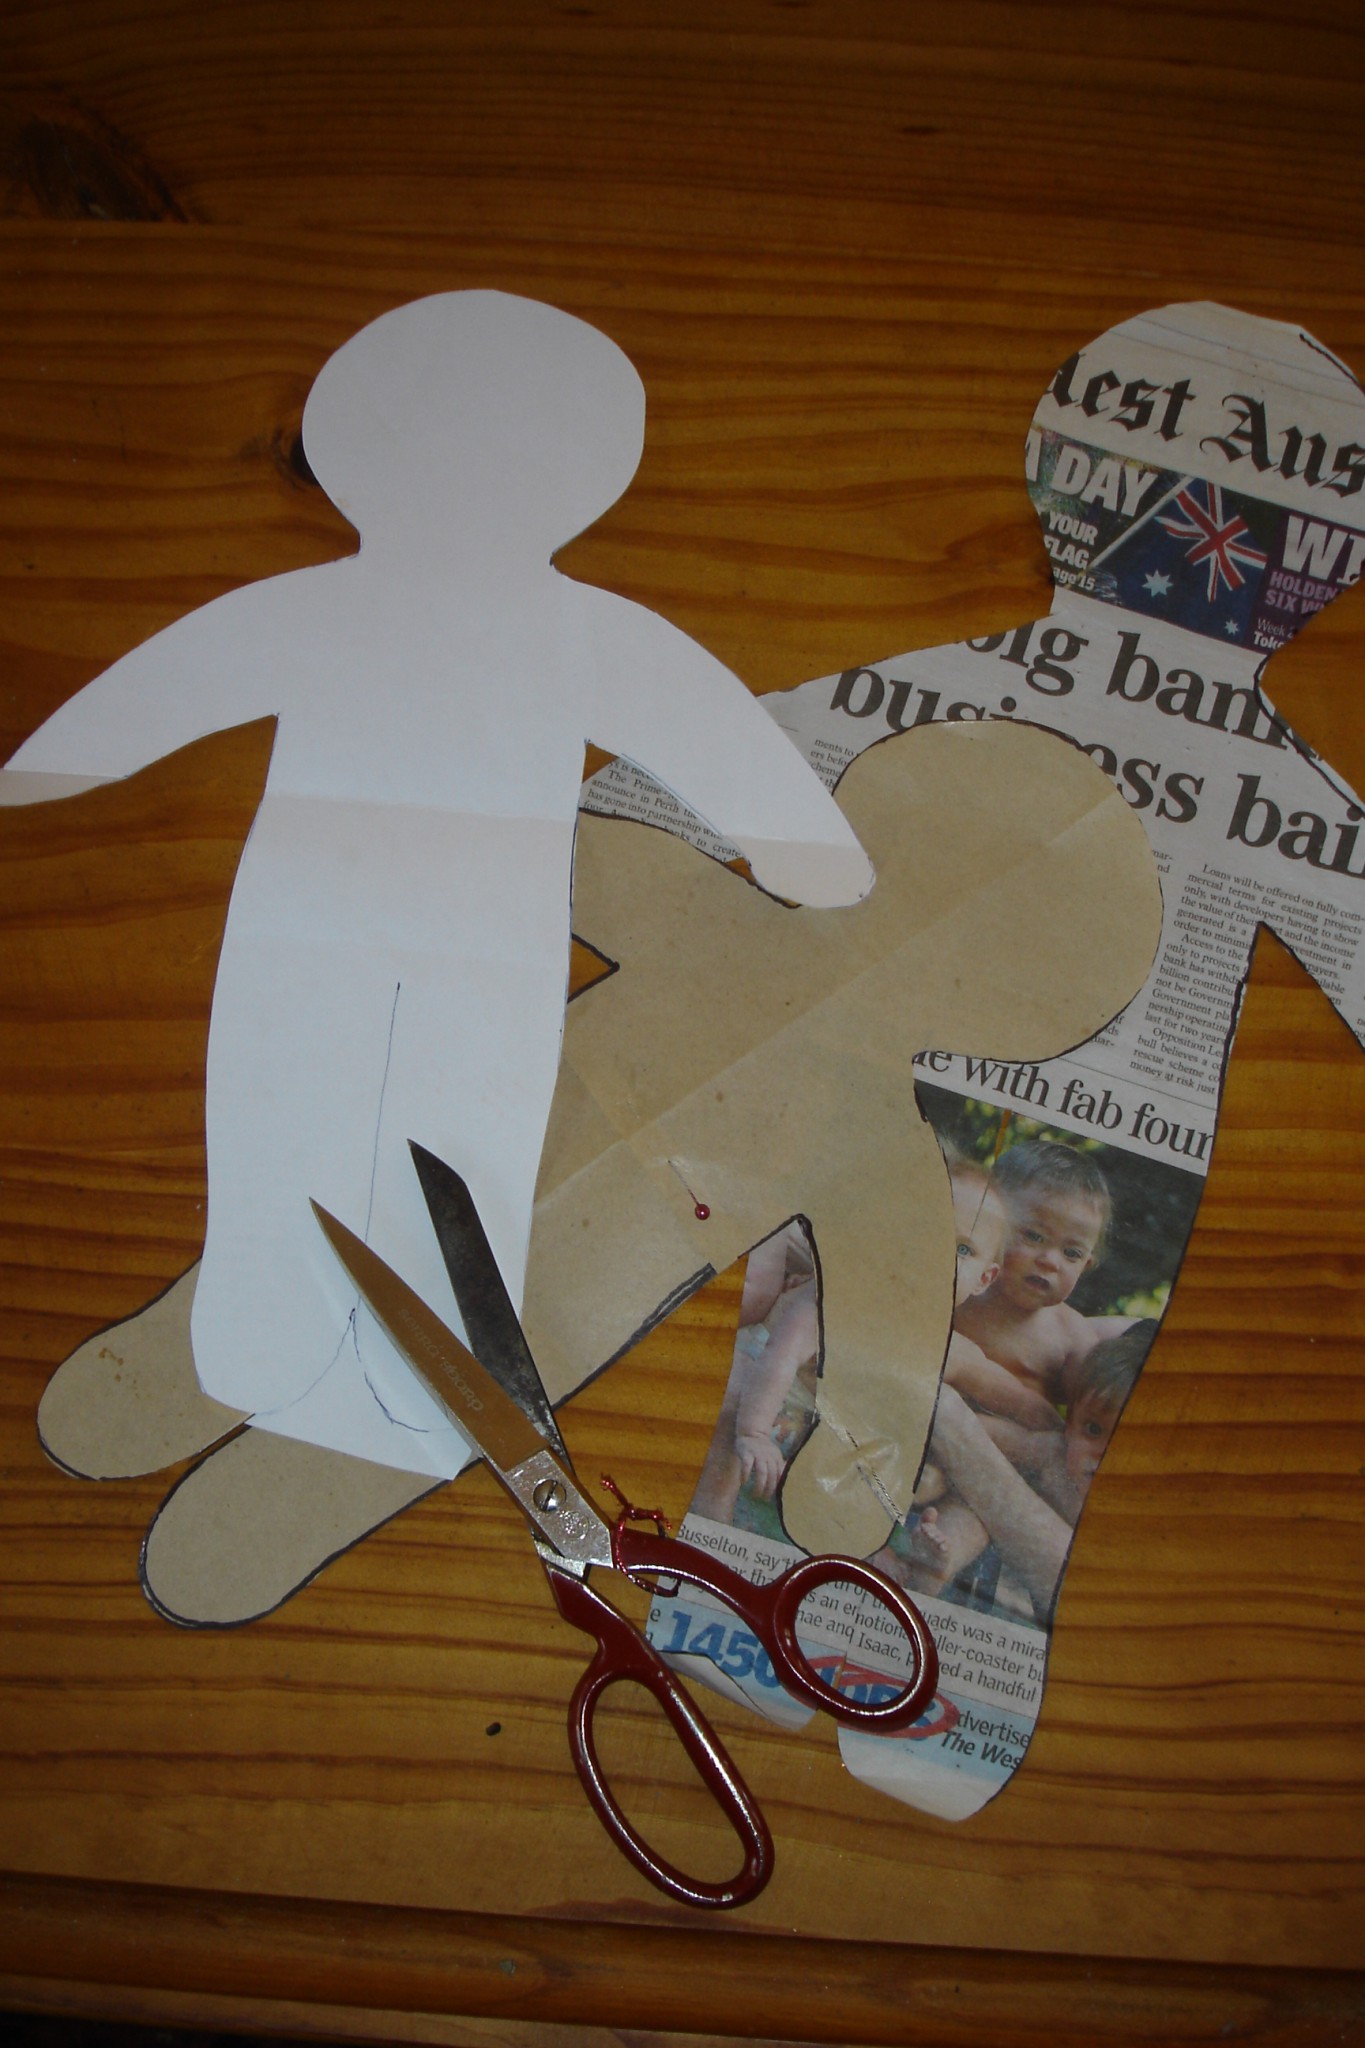
Use our patterns, or draw some simple clothing shapes onto the paper body-shape pattern, eg shirt, skirt, wrap-around dress, pants. By adding approx 2 cms for ease of dressing and a narrow seam allowance outside your drawing, you may be able to design your own doll’s clothing. Apply 2cms to hems and elastic casing at waist.


Always include underpants which are easily made from a folded rectangle (long enough to be firm at the waist) of stretch fabric, joined at the side seams and then stitched between the legs.
 

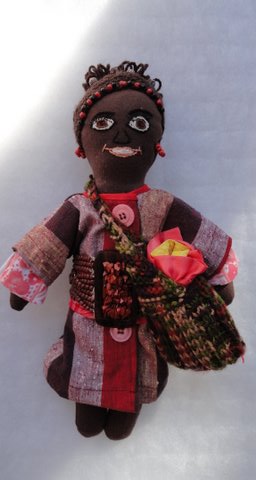
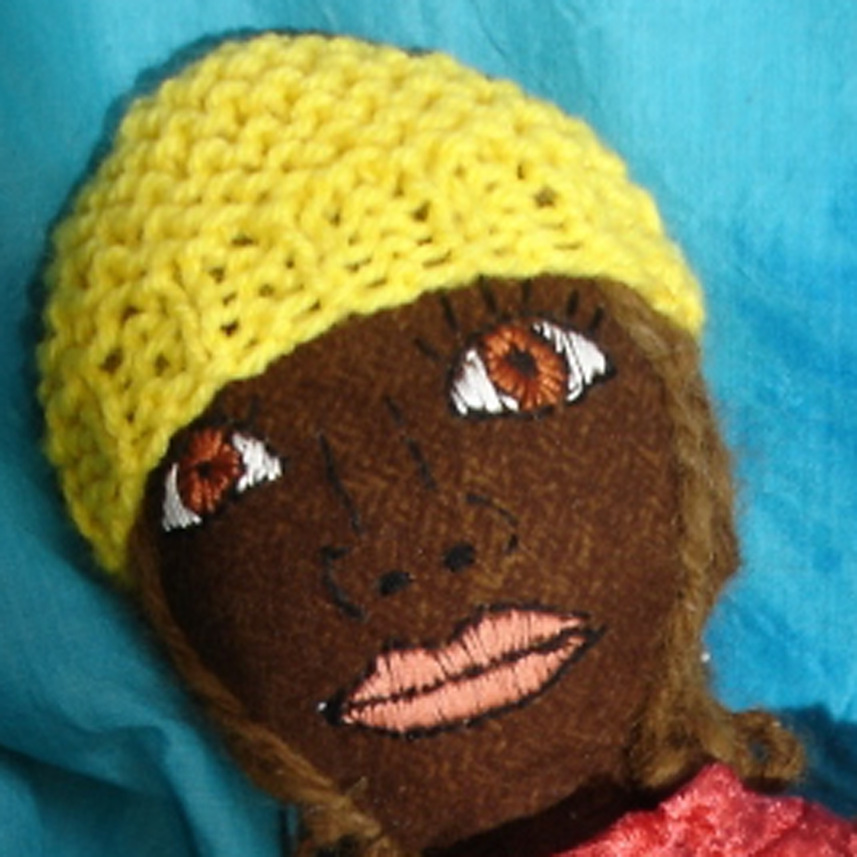
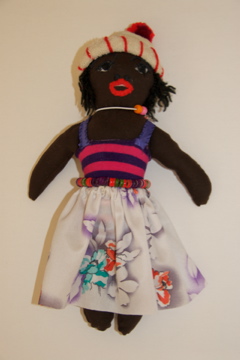
Choose bright fabrics – geometric patterns give an African look. You may wish to add pockets, beads, braids, fringes or other decorative details that would delight a child. Cut out the fabrics according to your pattern designs.

Finish with elastic, buttons, ribbons or any other addition necessary. Dressing the doll is a satisfying stage of the creative process.

— 7. Extras

You can make extra items, eg shoulder bag, hat, beanie, scarf, turban, baby, belt, pet animal. Each doll could be wrapped in a doll wrap (knitted, crocheted, hemmed fabric) approx 30cms x 40cms.

Children enjoy tying the doll on their back to mimic their mothers. Make a Child Wrap at least 140cms long x 30cms in fabric which easy for a child to tie.

The most spectacular dolls are given to Lifeline. Such dolls require a beautiful doll wrap, a change of doll clothes and a bag for the child, 26 – 30cms x 40cms finished, with handles. Add a softly textured large pocket on the outside for the child to stroke and feel comforted.
 
On this website we have the Classic Sewn doll ( from which no two dolls are alike!) and two knitted  doll patterns and guidelines for making dolls to suit specific organisations in KZN. Many dollmakers use patterns from other sources and adapt to suit the children of Kwazulu Natal.  

Uthando Project